Sourdough yeast bread, for many home bakers, is the holy grail. It’s a rewarding, if sometimes challenging, journey. The short answer to mastering it is consistent feeding of your starter, understanding dough hydration, proper fermentation, and gentle handling. This article will break down these elements and offer practical tips to get you baking beautiful, tangy loaves.
Your sourdough starter is the heart of your bread. It’s a living culture of wild yeasts and bacteria, and its health directly impacts your bread’s quality. Think of it as a pet that needs regular feeding and attention.
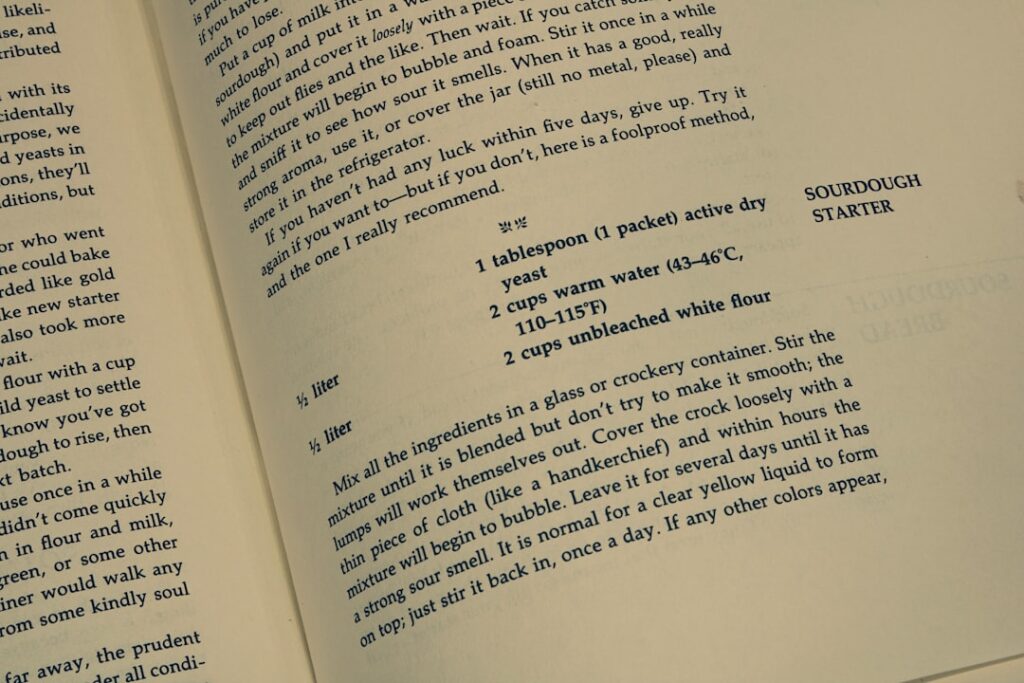
Building a Starter (If You Haven’t Already)
If you’re starting from scratch, combine equal parts (by weight) of whole wheat or rye flour and unchlorinated water in a clean jar. Stir well, cover loosely, and leave it at room temperature. Over the next 5-7 days, you’ll feed it daily. Discard most of the starter (leaving about 1-2 tablespoons), then add fresh flour and water. You’ll notice bubbles, a pleasant sour smell, and it will start to rise and fall predictably. Once it’s consistently doubling in size within 4-8 hours after feeding and smells appealingly sour, it’s ready.
Maintaining an Active Starter
An active starter is crucial. Feed your starter regularly, ideally daily if it lives at room temperature, or once a week if stored in the fridge. For a fridge-stored starter, take it out a day or two before you plan to bake and feed it 2-3 times at room temperature until it’s consistently active.
The Float Test: A Simple Indicator
While not foolproof, the float test is a quick way to gauge your starter’s readiness. Drop a small piece of your fed, bubbly starter into a glass of water. If it floats, it’s likely active enough for baking. If it sinks, it might need another feeding or more time.
Troubleshooting Common Starter Issues
- No activity: Your kitchen might be too cold. Try moving it to a warmer spot (70-75°F/21-24°C). Ensure you’re using whole grain flour initially, as it contains more nutrients for the microbes.
- Off-smells (like nail polish remover): This often means your starter is hungry. Increase feeding frequency or discard more before feeding.
- Mold: This is rare but can happen. If you see fuzz or anything other than natural discoloration (like a yellowish liquid called “hooch”), discard it and start over.
If you’re interested in exploring more about the fascinating world of sourdough, you might find this article on the science behind sourdough fermentation particularly enlightening. It delves into the unique role of wild yeast and bacteria in creating that signature flavor and texture we all love. For more insights, check out the article here: Sourdough Calculator Blog.
The Foundation: Ingredients and Hydration
Sourdough bread relies on a few simple ingredients, but their quality and how you combine them are important.
Flour Choices and Their Impact
- Bread Flour: This is usually the go-to for sourdough, offering a good balance of protein for gluten development.
- Whole Wheat or Rye Flour: These flours add flavor, nutrients, and can kickstart fermentation. Using a small percentage (10-20%) in your dough is common.
- Pastry or All-Purpose Flour: While you can use these, they have lower protein content and might result in a less structured loaf.
Don’t be afraid to experiment with different flours to find what you like. Just be aware that different flours absorb water differently.
Understanding Hydration Percentage
Hydration is the ratio of water to flour in your dough. It’s expressed as a percentage. For example, if you have 500g of flour and 350g of water, your hydration is 70% (350/500 * 100). Higher hydration (above 75%) results in a more open crumb and airy texture but can be harder to handle. Lower hydration (below 70%) makes the dough easier to work with but can yield a denser crumb. Most beginner recipes hover around 70-75%.
Salt: More Than Just Flavor
Salt is not just for taste; it also plays a crucial role in gluten development and controlling fermentation. Don’t skip it, and don’t add too much or too little. A good starting point is 2% of the total flour weight.
The Art of Mixing and Developing Gluten
Proper mixing sets the stage for a well-structured loaf. It’s about developing the gluten network that traps the gases produced during fermentation, giving your bread its characteristic open crumb.
Autolyse: A Simple Step for Better Dough
Autolyse (pronounced “auto-leez”) is a technique where you mix only flour and water to form a rough dough, then let it rest for 30 minutes to an hour before adding your starter and salt. This allows the flour to fully hydrate and enzymes to start breaking down starches, leading to a more extensible (stretchy) dough with less mixing later.
Incorporating Starter and Salt
After the autolyse, add your active starter and salt. Mix thoroughly until everything is well combined and there are no dry spots. This can be a bit messy initially, especially with higher hydration doughs. You can use your hands or a stand mixer with a dough hook.
Stretch and Folds: Building Strength Gently
Instead of aggressive kneading, sourdough bakers often use a technique called “stretch and folds.” This gently develops gluten while preserving the delicate yeast and bacterial cultures.
- Frequency: Typically, you’ll perform 3-5 sets of stretch and folds during the first 2-3 hours of bulk fermentation, with 30-60 minute intervals between each set.
- Technique: With wet hands, grab a portion of the dough from one side, gently stretch it upwards, and fold it over to the opposite side. Rotate the bowl and repeat this motion 3-4 times until you’ve worked your way around the dough. This creates tension and strengthens the gluten.
Fermentation: The Heart of Sourdough

Fermentation is where the magic happens. It’s the process by which your starter’s yeasts and bacteria consume sugars, producing carbon dioxide (which creates bubbles in your dough) and organic acids (which give sourdough its characteristic tang).
Bulk Fermentation (First Rise)
This is the longest fermentation stage, typically lasting 4-8 hours at room temperature, but it can vary significantly depending on room temperature and starter activity.
- Understanding “Proofing”: In sourdough, “proofing” sometimes refers to the final rise, while “fermentation” usually encompasses the whole process.
- Visual Cues: Your dough should increase in volume by 30-50%, feel light and airy, and have some visible bubbles on the surface and sides of the container. A good indicator is the “jiggle test” – if you gently shake the bowl, the dough should jiggle as a cohesive mass.
- The Poke Test: Gently poke a floured finger into the dough. If the indentation slowly springs back halfway, it’s likely ready. If it springs back immediately, it needs more time. If it doesn’t spring back at all, it might be over-proofed.
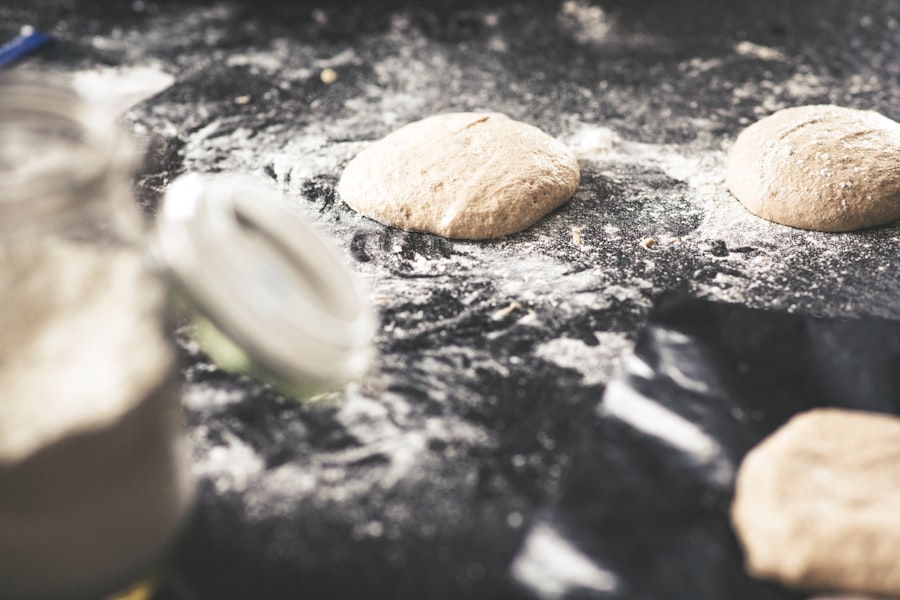
Pre-Shaping: Preparing for the Final Form
Once bulk fermentation is complete, gently turn your dough out onto a lightly floured surface. Divide it if making multiple loaves. Then, gently shape each piece into a rough round or oval. This helps to create surface tension and develops a “skin” on the dough, making final shaping easier. Let it rest for 15-30 minutes, covered, to relax the gluten.
Final Shaping: Creating Structure
This is where you give your dough its final form. The goal is to create tension on the surface while trapping air inside. There are many shaping techniques (boule, batard, etc.), but the key is to be gentle but firm. Avoid tearing the dough. Place the shaped dough seam-side up into a floured banneton or a bowl lined with a floured cloth.
Cold Fermentation (Retarding)
Placing your shaped dough in the refrigerator (35-40°F/1-4°C) for 8-16 hours (or even longer) offers several benefits:
- Flavor Development: The colder temperature slows down yeast activity but allows bacteria to continue working, resulting in a more complex, tangy flavor.
- Convenience: It allows you to bake on your schedule.
- Easier Handling: Cold dough is much easier to score and transfer to a hot baking vessel.
If you’re looking to enhance your sourdough baking skills, you might find it helpful to explore an article that provides valuable insights and tips for achieving perfect loaves every time. This resource dives into various techniques and methods that can elevate your sourdough bread-making experience. You can read more about it in this informative piece on mastering the art of sourdough.
Baking Your Masterpiece
| Aspect | Metric |
|---|---|
| Preparation Time | 12-18 hours |
| Baking Time | 30-45 minutes |
| Calories | Approximately 80 per slice |
| Protein | 3 grams per slice |
| Fat | 0.5 grams per slice |
The final act! Baking sourdough involves high heat and steam to achieve that coveted crust and airy interior.
Preheating Your Oven and Baking Vessel
A common method is to bake in a Dutch oven or a preheated baking steel/stone with a pan of water for steam. Preheat your oven to a high temperature (450-500°F/230-260°C) with your baking vessel inside for at least 30-60 minutes. This ensures the vessel is scorching hot, which provides a burst of heat to the dough, promoting oven spring.
Scoring: Guiding the Rise
Just before baking, gently remove your cold dough from the banneton. Using a sharp razor blade (lame) or a very sharp knife, score the top of the dough. This creates a weak point where the dough can expand predictably, preventing uncontrolled tearing and creating beautiful patterns.
The Bake: Steam and Temperature
- Initial Covered Bake (with steam): Carefully transfer the scored dough into the preheated Dutch oven. Bake, covered, for 20-30 minutes. The lid traps steam, allowing the crust to remain moist and flexible, leading to maximum oven spring.
- Uncovered Bake (for crust development): Remove the lid and continue baking for another 20-30 minutes, or until the crust is deeply golden brown and the internal temperature reaches 200-210°F (93-99°C). This allows the steam to escape and the crust to become crispy and caramelized.
Cooling: The Unsung Hero
Resist the urge to cut into your bread immediately! Cooling your sourdough on a wire rack for at least 1-2 hours (preferably longer) is absolutely essential. During this time, the internal structure sets, and the moisture redistributes. Cutting it too soon will result in a gummy texture.
Troubleshooting Common Sourdough Issues
Even seasoned bakers encounter issues. Here are some common problems and potential solutions.
Dense Crumb, Lack of Oven Spring
- Underproofed: The dough didn’t have enough time to ferment and develop enough gas. This is a common issue. Give it more time during bulk fermentation.
- Weak Starter: Your starter wasn’t active enough. Ensure it’s doubling consistently before using.
- Poor Gluten Development: Not enough stretch and folds or not mixed thoroughly enough.
- Low Baking Temperature/Insufficient Steam: The oven wasn’t hot enough, or there wasn’t enough steam to allow for proper expansion.
Gummy Interior
- Underbaked: The bread wasn’t baked long enough, and the internal temperature wasn’t high enough to fully cook the starches.
- Cut Too Soon: Cutting into a hot loaf releases steam and can make it gummy. Always cool completely.
Pale Crust
- Not Enough Sugar Development: Sometimes an overly long cold proof can consume too many sugars for good crust browning.
- Too Low Baking Temperature/Not Baked Long Enough: Increase the baking time or temperature during the uncovered phase.
Extremely Sour Flavor
- Overproofed: Too long of a fermentation, especially at room temperature, allows acetic acid (the “vinegar-y” sour) to dominate.
- Hungry Starter: A starter left unfed for too long can become very acidic. Feed it more frequently.
- High Ratio of Whole Grains: Whole grains can contribute more sour notes.
Lack of Tangy Flavor
- Underproofed: Not enough time for the acids to develop.
- Too Warm Fermentation: Warmer temperatures favor yeast activity (CO2 production) over bacterial acid production. Try a longer cold ferment.
- Young Starter: Newer starters often haven’t developed a complex flavor profile yet.
Mastering sourdough is a journey of learning, observation, and adjustment. Don’t be discouraged by imperfect loaves; each one is a learning experience. With consistent effort and attention to these practical steps, you’ll be baking delicious sourdough yeast bread consistently.